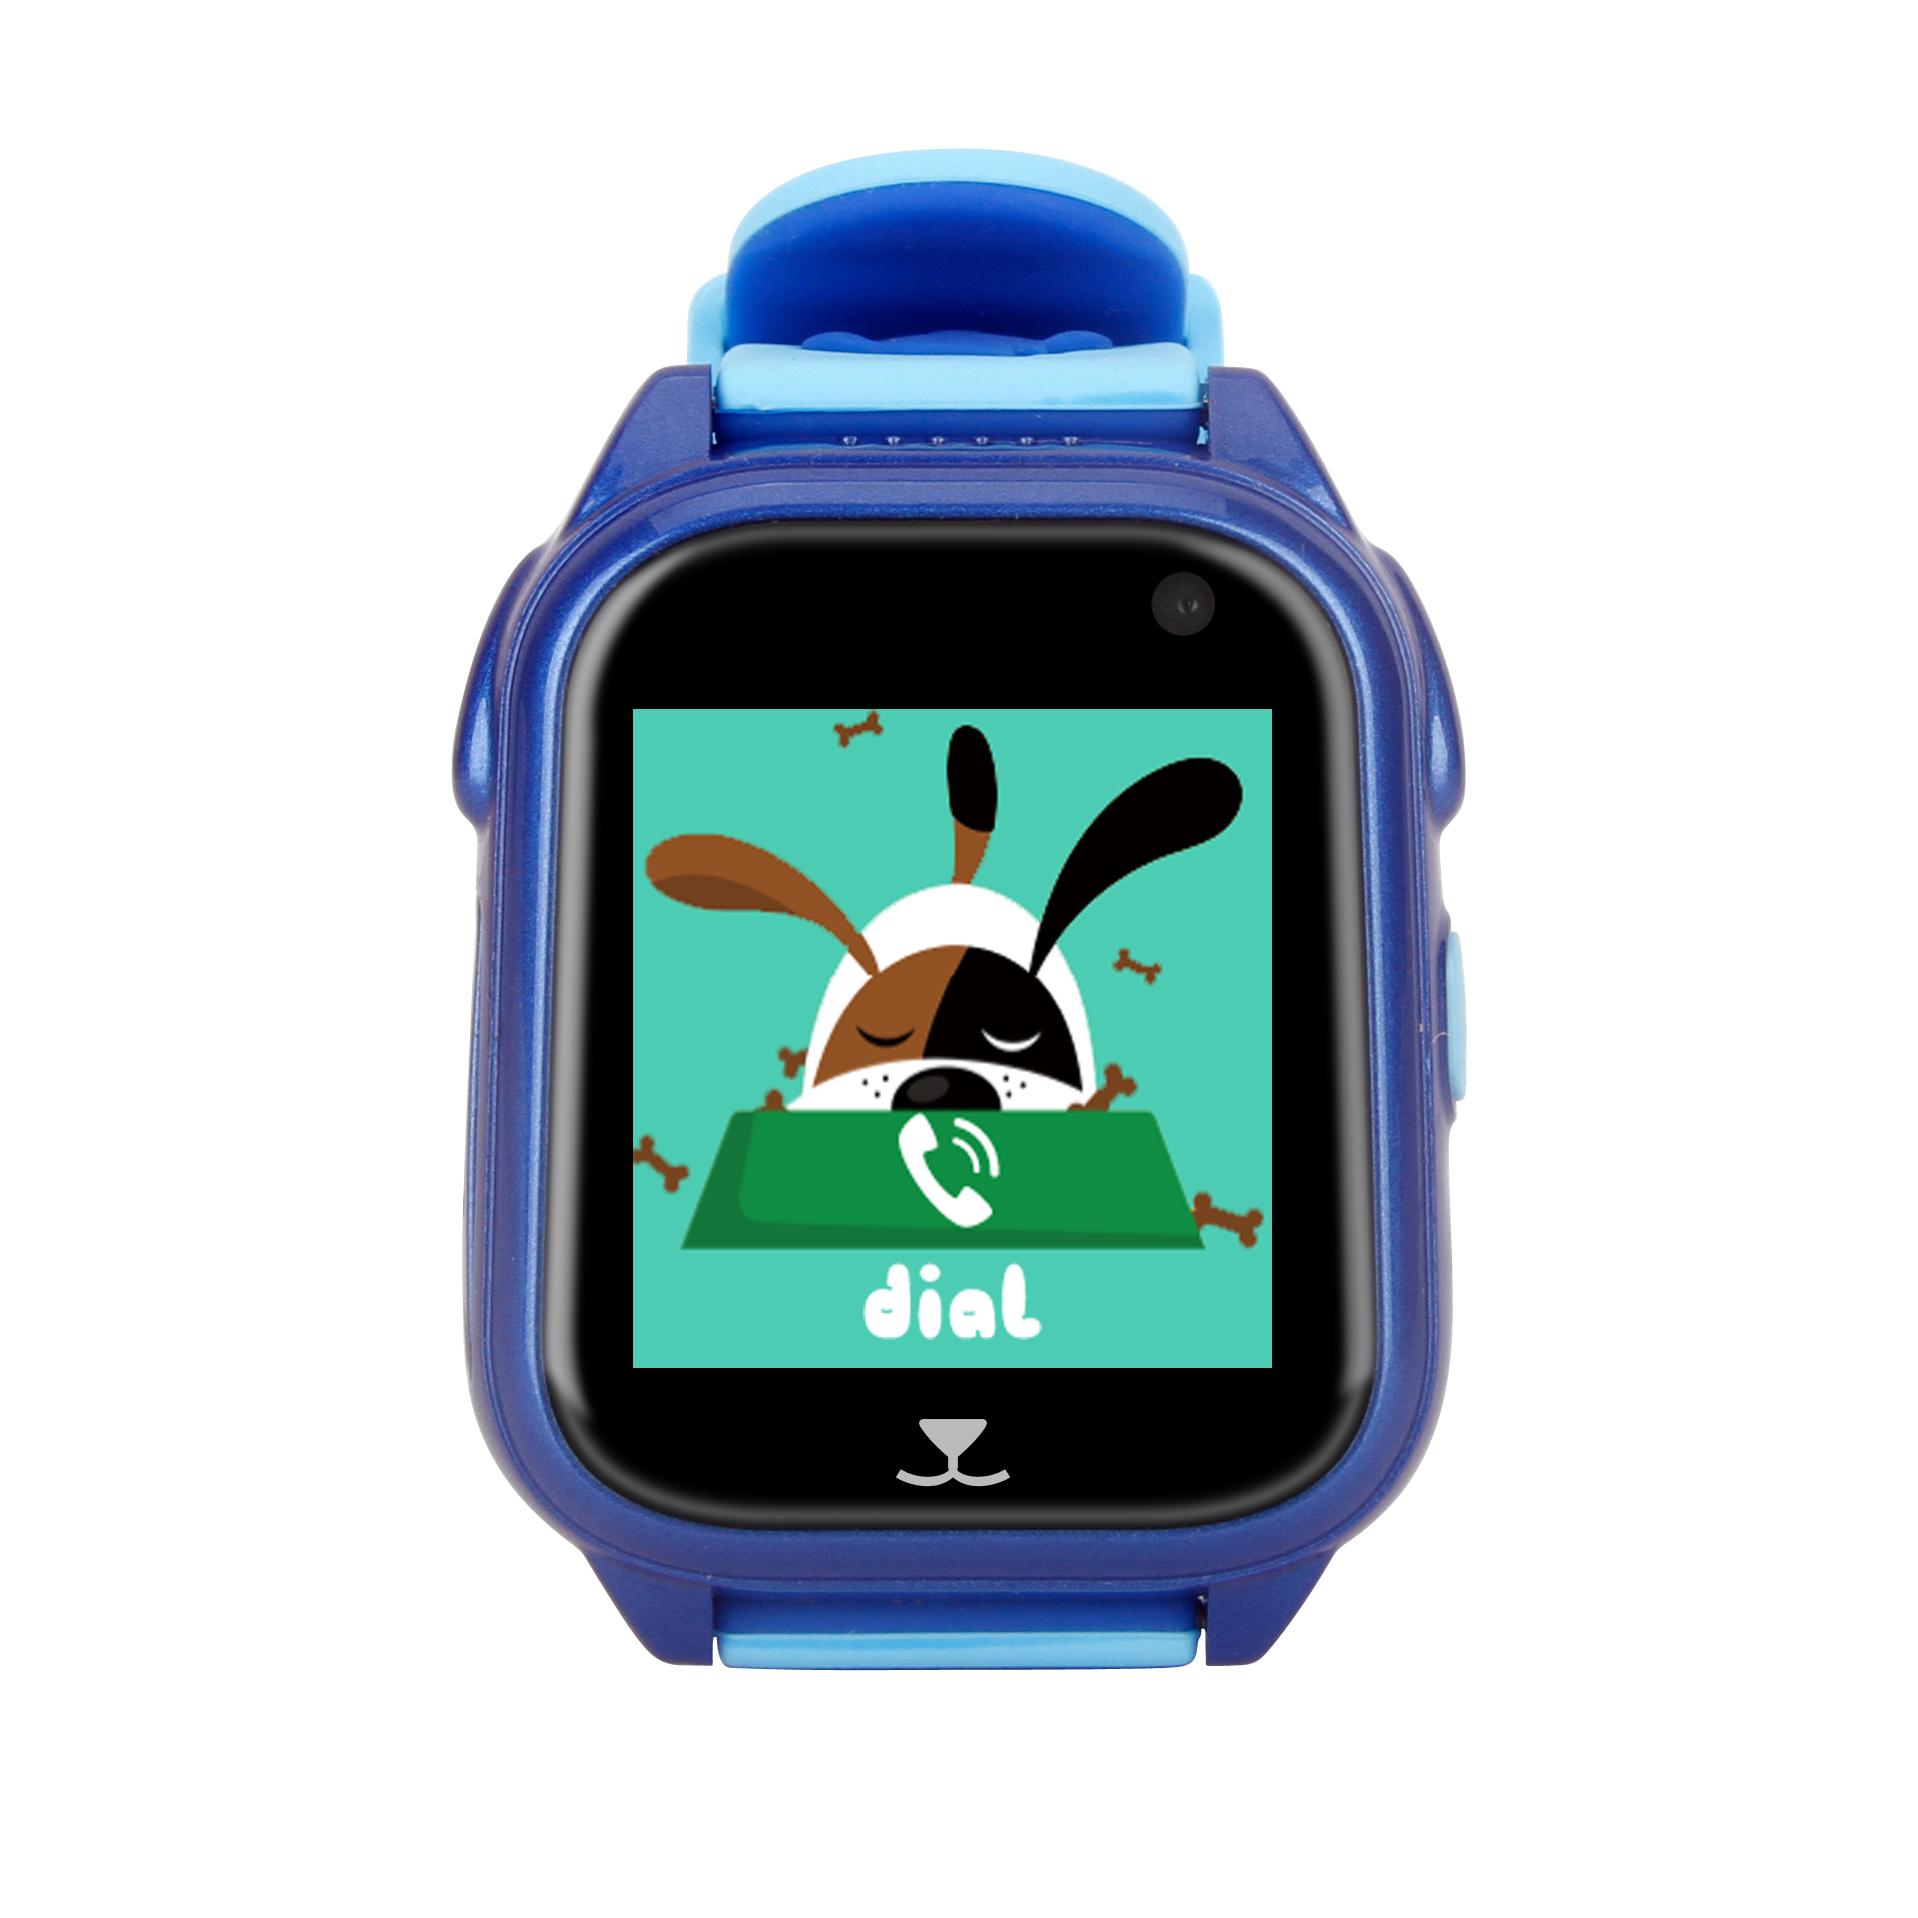
Factory supply Kids Smart GPS IP67 Watch W5
Model No.︰BBY-605
Brand Name︰Babyuke
Country of Origin︰China
Unit Price︰US $ 26 / pc
Minimum Order︰1000 pc
Product Description
Configuration:2G SIM card; 500mAh ;GPS+LBS; 1.44" TFT;HD LCD touch screen; Mobile client-side or Computer GPRS service platform, The dual control mode;IP67 Waterproof ; Language and Time Zone.
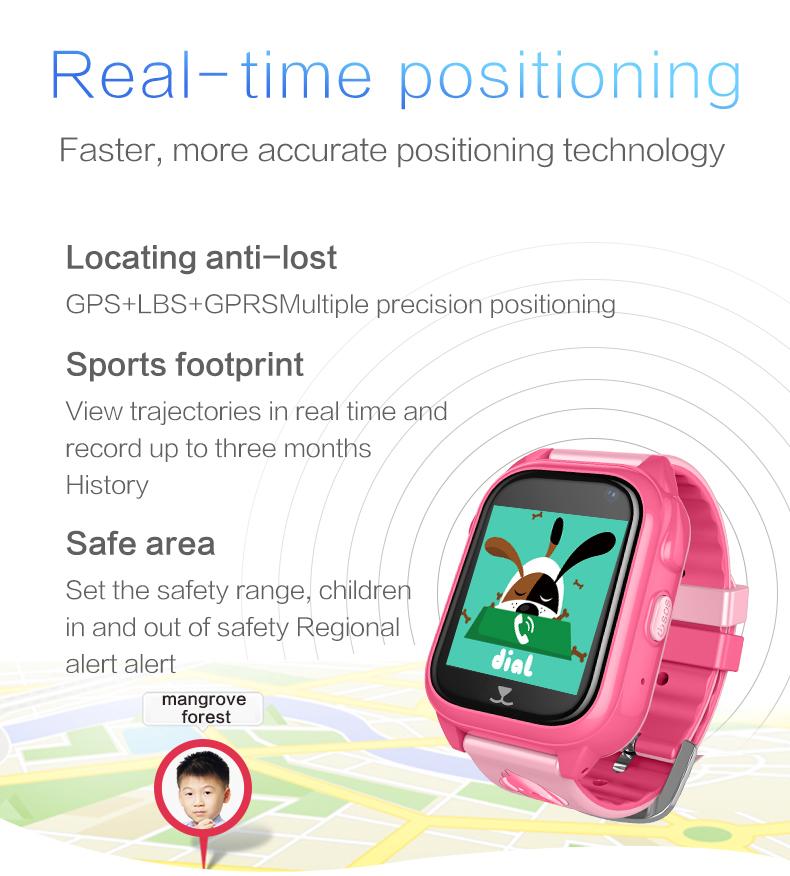
Description:Real time GPRS positioning, tracking and monitoring; Phone book; Safety Zones; Watch /SOS/Low Battery Alarm; Weather Forecast; Remote Camera/Shutdown; Positive photo; Games; Make friends; Intercom.
Net Weight: 46g.
Product size(dwh/cm):4.5*3.8*1.4
Colour: pink/blue.
Mobile phone set IP address: Watch mobile phone SIM card installed after boot, set the IP address edit messages sent to watch the SIM card (mobile phone will receive a reply successful information)
Hongkong: pw, 123456, ip,47.91.138.192,8001#
Europe and Africa: pw, 123456,ip, 52.28.132.157,8001#
Asia and Oceania:pw, 123456, ip, 54.169.10.136,8001#
North America: pw, 123456, ip, 54.153.6.9,8001#
South America: pw, 123456, ip, 54.207.93.14,8001#
Client-side (SeTracker2) Operating Instruction
5.1 APP Log In (You can download the App on your mobile or open the APP after scanning the QR code in the user manual,it will enter the page as shown in the left side of the picture.
5.1 APP Register
You will be able to log into your account after you manually register it firstly, During the registration process, you can either scan your 15-digit registration code or you can manually enter the code. Each code is unique so it cannot be used more than once; if the code already had been registered, you will have to ask the commercial agent to restore the corresponding ID number. You need to set up the account using 4-16 numbers or letters, The account is purely exclusive and can not be used repeatedly by anyone else; however, if it is used by anyone else repeatedly, the original user will have to create a new account and register again. Customers can enter other information by themselves. The password can be modified by the user,and it will requires the registration code,the log-in account name ,and the mobile numbers which being used for registering the account if the user want to find the password back.The registration screen is shown in the figure given below:


5.2 Main Interface Functions Introduction
5.2.1 APP function menu interface
After the account registration is completed,enter your account number and password on the log-in interface and proceed,now you will be taken to the main interface. The main interface as shown in the figure below:

Instructions about some functions:
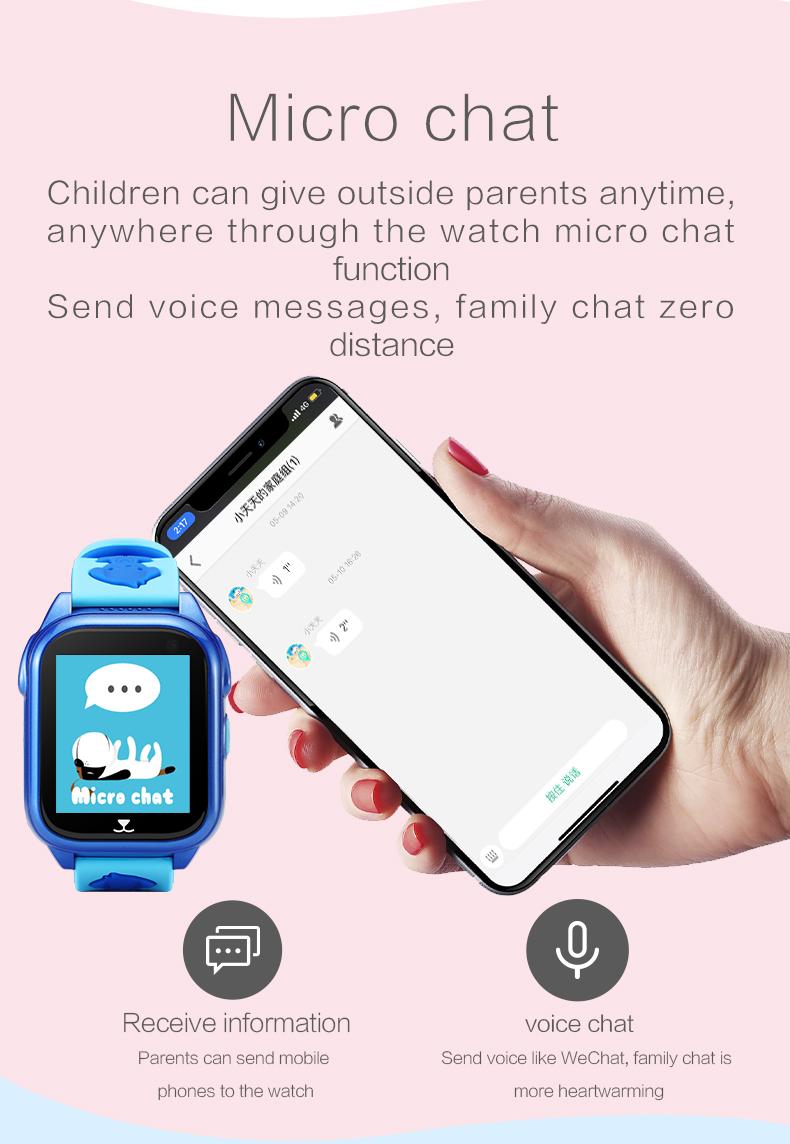
(1)Voice Chatting:The watch can be sent voice messages to their family and friends.
Mobile phone APP can be used for sending voice messages to the watch.The longest voice message can be 15 seconds.The children can press the sos button to play the voice message.
If the user want to use the watch for sending voice message to the app,long press the record button in order to record the voice messages.The longest voice message is 15 seconds.(There is SMS to remind the parents once the APP receives any voice messages.(The time that you receive the voice messages is related to your network status.)
Sending voice messages from the watch to their friends:Long press the record button to record messages,after loosing the button,the messages will be sent out to their friends.The longest voice message is 15 seconds.
(2)User Information:You can fill in the information of your children,such as their basic info,hobby,Personality.etc.
- Setting:To set up the operating parameters of the watch.[After Clicking the “setting”in the main page interface will enter into this page(shown as the image below)]

:1:Setting up the SOS number: The user can set up three contact numbers as SOS numbers. In case of an emergency, pressing the SOS key for three seconds will cause the watch to sound an alarm and call the three assigned SOS numbers in turn (in a loop) until someone picks up.If no one answers the numbers, the loop calls will end after 2 rounds.
2:Monitoring:Generally, the phone number which has been assigned for monitoring will be set as the parents’.After the user begins to start this function,the watch will dial the assigned monitoring phone number.The watch user can not hear the sounds from the mobile,but the mobile can monitor the watch.
3:Phone Book (for contacts): You can add 10 phone numbers in the watch’s contact book.These 10 phone numbers can be dialed and answered to have conversation between the watch and the mobiles.
4:Looking for the watch:If the users can not find the watch, they can send this instruction to the watch; the watch will receive it then start to ring for the next one minute in order to find the watch easier. Turn off the ringing by pressing any key on the watch.
5:Remote Camera:Enter into an interface then press the”Remote Camera”button,So that the user can control the watch to remote the camera.30 seconds for refreshing the interface.Enlarge the picture by clicking it,also the user can 90° rotate the image and check the time of taking the picture.
5:Voice Alert:Set up and record the schedule alarm,then the watch will remind you in the corresponding time with your schedule.


7:Restoring the default work mode: The default work mode:Open 24 hours a day of GPS, upload interval of 10 minutes.
8:Remote Shutdown:When the watch has been turned on and has been operating for some time, the user can not press the “Power off” key to turn it off, the watch can only be turned off by using the ‘Remote Shutdown’ function from the mobile app.
(4)Locating: Real-time location tracking
The map interface will display the watch and mobile phone’s position(already installed the watch APP on the mobile),tap on “location”and the watch will begin real-time positioning for three minutes,the upload interval time is 10seconds,after three minutes the watch will restore to the default operating mode.By using the map interface, the user can find out the location of the watch in real-time.When it is set to GPS positioning the location icon will appear in a red color and blue color for Base Station positioning.
Tracking:You can check the historical tracking of the watch according to the time period.The base station switch in this interface refers to the displayed historical base station positioning icons when the user check the tracking history of the watch,if the user turn the “Tracking”off,then the base station positioning icons will not be showed,or if the user turn it on,the base station positioning icons will be showed.
(6)Function List:Click the upper-right corner

1:The safety zone:The minimum radius of the safety area is 500 meters.When the user comes into or goes out of the area, it will trigger the alarm.
2:Classes disable mode:You can set up the time to block all the incoming calls during classes.
3:SMS alert settings:Low Battery,SOS, Remove The Watch. These are the three kinds of ways to trigger the alarm messages. The watch will send the alarm messages to the assigned phone number. The alarm messages will be charged the same amount of balance as regular messages.Therefore,after this number has been assigned, it will automatically be added to the monitoring number list by default.
4:Watch Alarm: The user can set three alarms,and they can choose to set up the alarm types that based on their needs.
5:Love award:Select the numbers of red hearts in the app, tap on “yes”to send them to the watch,The red hearts will be displayed on the watch.
6:Information Center:You can check all of the alarm record here
7:‘‘Personal Setting’’:upper-right corner

Notice: You can view the customer registration ID number in the equipment list.If this ID number is different from the one which had been pasted on the watch case, then the watch will not be able to connect to the app.
The “Help”document has been explained more detailed descriptions of all the functions for the watch, The customer can read it carefully in order to understand the functions better.
Switch:If your account is managing several watches at the same time,you can switch anyone of them freely by clicking the icon,after switching,it will be changed into the current one which you had chose and you can set this one up and manage it.
Device:Click the pattern,after that the map interface will update the current location of the watch.
5.3 Watch alarm instruction
If the watch alarms under any circumstances, the mobile client-side app will receive the alarmed messages. Tap the “alarm”of the mobile client-side and enter into the mobile app’s main interface,here you can check all of the detailed information after you enter the information center.
6、Watch Work Mode Instructions
The watch has three basic working modes which are the ‘normal mode’,the ‘power saving mode’ and the ‘real-time positioning mode’. Different patterns of work have different upload interval times.
The normal mode: Upload interval of 600 seconds.
The power saving mode: Upload interval of 3600 seconds.
Real-time positioning mode: Upload interval of 60 seconds.
7、Additional using instructions for watch.
7.1 Watch SOS emergency alarm
Long press the “SOS” key (key 2 of watch)for 3 seconds, the “SOS” will be prompt and displayed on the watch screen and the watch will get into the state of alarming; after that,it will call the three SOS numbers in a loop for two rounds.If somebody picks up the call in the middle of the loop, the watch will stop dialing.However, if nobody answers,the watch will stop calling after two rounds.The watch will send an SMS to the monitoring number after the loop(off by default). Meanwhile, an alarm notification will also be sent to the companion mobile app.
7.2 Low Battery Alarm
The watch battery is showed as percentage. When the battery level is less than 20%,the watch will send an alarm SMS to the monitoring number(off by default). Meanwhile, an alarm notification will be sent to the mobile app.
7.3 Intercom (Push-To-Talk)
Use the watch to do Push-To-Talk conversation with app: Long press the “Tape” key of the watch to start recording the audio, the voice taping will be sent to the companion app once the key is released.
7.4 Voice monitoring
Assign a monitoring number firstly and the number will be saved to the SMS alerts settings by default.After sending out the instructions for opening the Voice monitoring,the watch will dial the monitoring number,for a one-way call.
7.5 Shutdown
The watch can be turned off by pressing the “turn-off”button ,It can also be turned off by the mobile app via ‘Remote Shutdown’ or by power failure.
7.6 The phone book
Can be Set up 10 contact numbers in the phone book of the watch.Short press the key 1 on the watch to open the phone book,here you can select the added phone numbers,then you choose one and call this phone number by clicking it shortly on the screen.These 10 phone numbers can be dialed and do the two-way conversation between the watch and the mobiles.
7.7 Answer and Hang up the calls
When the corresponding phone numbers of the watch is calling,shortly press key 1 to pick it up, if the user wants to hang up, just press key 2.
7.8 Taking photos by watch
Click the camera menu on the watch,and the user can take the pictures in real-time.Only one piece of image can be saved in the watch,the user can replace the old one with the new taken one.
8 Trouble shooting
- If the watch is unable to connect to the server after it boots for the first time ,(later, the mobile app will send the prompt to the watch that the device is not connected to the internet.)Please check:
2)If the SIM card that has been inserted inside the watch is belongs to the GSM network or not, such as the Telecom will not be supported.
2)If the SIM card of the watch is enabled for 2G data traffic or not.The watches currently only can use 2G data traffic,so it must be compatible with 2G data traffic.
2)Server Parameters as IP and port,check if the ID is correct and make sure that the ID number of the watch is the same as the one which has been marked on the watch by the manufacturing factory. The Customer can edit the SMS “w,123456,ts#” to the watch by themselves,(the watch has to be turned on with SIM card,and the SMS must be in English input method). The customer can inquire from the sale agent if they have any question.
4)There are two kinds of situations if the user can not register:
a.Equipment number does not exist or device number has already been registered; under this circumstance,you need to find the sale agent to solve the problem.
b.Prompt that the account has already been registered by someone,the customer only needs to switch to another account to register again.
9 QR code scanning entrance
Scan the QR code, after this you can download the client-side app from the iOS app store or Android App Store.
For W5,the functions of dialing and voice alert can only use the app2

Payment Terms︰ TT
Product Image


